Low-light photography offers a unique opportunity to capture the enchanting beauty of nighttime scenes. Whether you’re shooting cityscapes, starry skies, or intimate portraits in dimly lit settings, mastering this technique can take your photography to the next level. In this blog, we’ll delve into essential tips and techniques to help you create stunning nighttime shots.
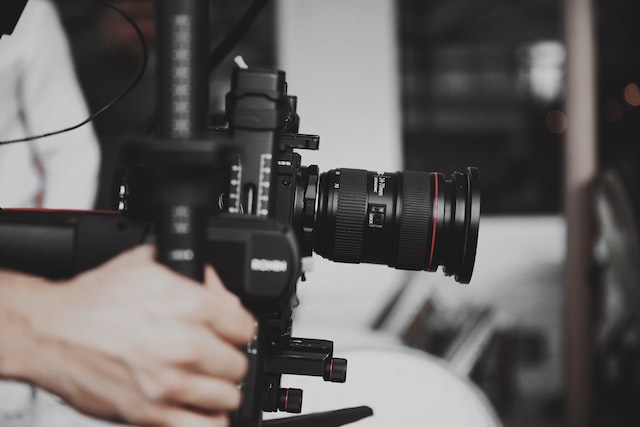
1. Equipment Matters
To succeed in low-light photography, having the right equipment is crucial. Consider investing in a camera with good low-light performance and a fast lens with a wide aperture (e.g., f/1.8 or f/1.4). These elements allow more light into the camera sensor, enabling you to capture detailed images even in low-light conditions.
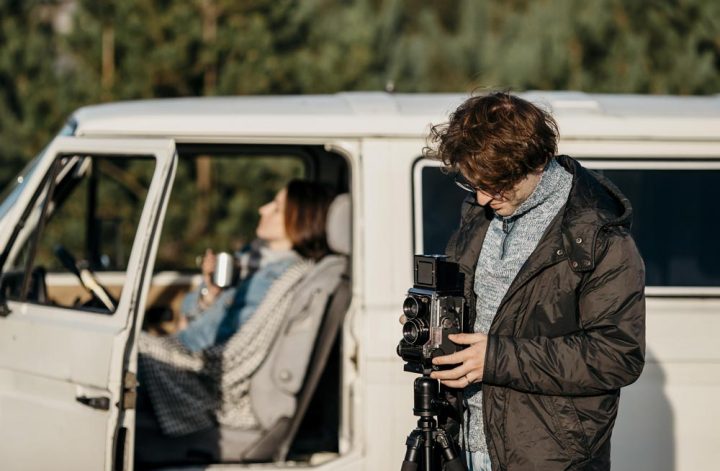
2. Use a Tripod
Stability is key when shooting in low light. A tripod will eliminate camera shake and ensure sharp images. Additionally, you can use slower shutter speeds to capture more light without worrying about blurriness.
3. Master Manual Mode
Understanding your camera’s manual settings is vital for low-light photography. Adjust your aperture, shutter speed, and ISO manually to control exposure. Experiment with different combinations to achieve the desired effect.
4. Embrace Long Exposures
Long-exposure photography is a powerful technique for low-light situations. It involves using slow shutter speeds to capture more light over an extended period. This technique can create stunning light trails, starry skies, and dreamy water effects.
5. Light Sources Are Your Allies
Utilize available light sources creatively. Streetlights, neon signs, and even the moon can add character to your nighttime shots. Experiment with different angles and perspectives to incorporate these light sources into your composition.
6. Use a Remote Shutter Release
Even the slightest camera movement can lead to blurred images in low light. A remote shutter release or a timer can help you capture images without physically touching the camera, ensuring maximum sharpness.
7. Optimize Your ISO
Keep in mind that increasing ISO sensitivity can introduce noise into your photos. Start with a low ISO setting (e.g., ISO 100 or 200) and only (if available) to help you lock onto your subject. It’s also a good practice to use the camera’s live view mode to magnify the area you want to focus on and fine-tune the focus manually.
9. Experiment with White Balance
Low light conditions can result in color shifts. Experiment with your camera’s white balance settings to achieve the desired color temperature for your nighttime shots. You can also adjust the white balance during post-processing.
10. Shoot in RAW
Capturing images in RAW format provides greater flexibility during post-processing. RAW files contain more data and allow you to adjust to exposure, color, and sharpness without sacrificing image quality.
Conclusion
Low-light photography opens up a world of creative possibilities, allowing you to capture the magic of the night. By mastering the tips and techniques outlined in this blog, you’ll be well on your way to creating stunning nighttime shots that leave a lasting impression on your audience. Remember, practice and experimentation are key to honing your skills in low-light photography. Embrace the challenge and enjoy the beauty of the night through your lens. Happy shooting!